Removing a scratch from an old photo is usually a question of location, not just severity. A thin mark across a plain wall gives a restoration tool nearby texture to borrow. The same mark crossing an eye removes evidence that no algorithm can reliably recover. Before you upload anything, separate surface dirt, scratches, folded paper, and missing image areas. That diagnosis tells you whether automatic cleanup is a sensible first pass or whether the file needs a small local repair and a clear uncertainty note.
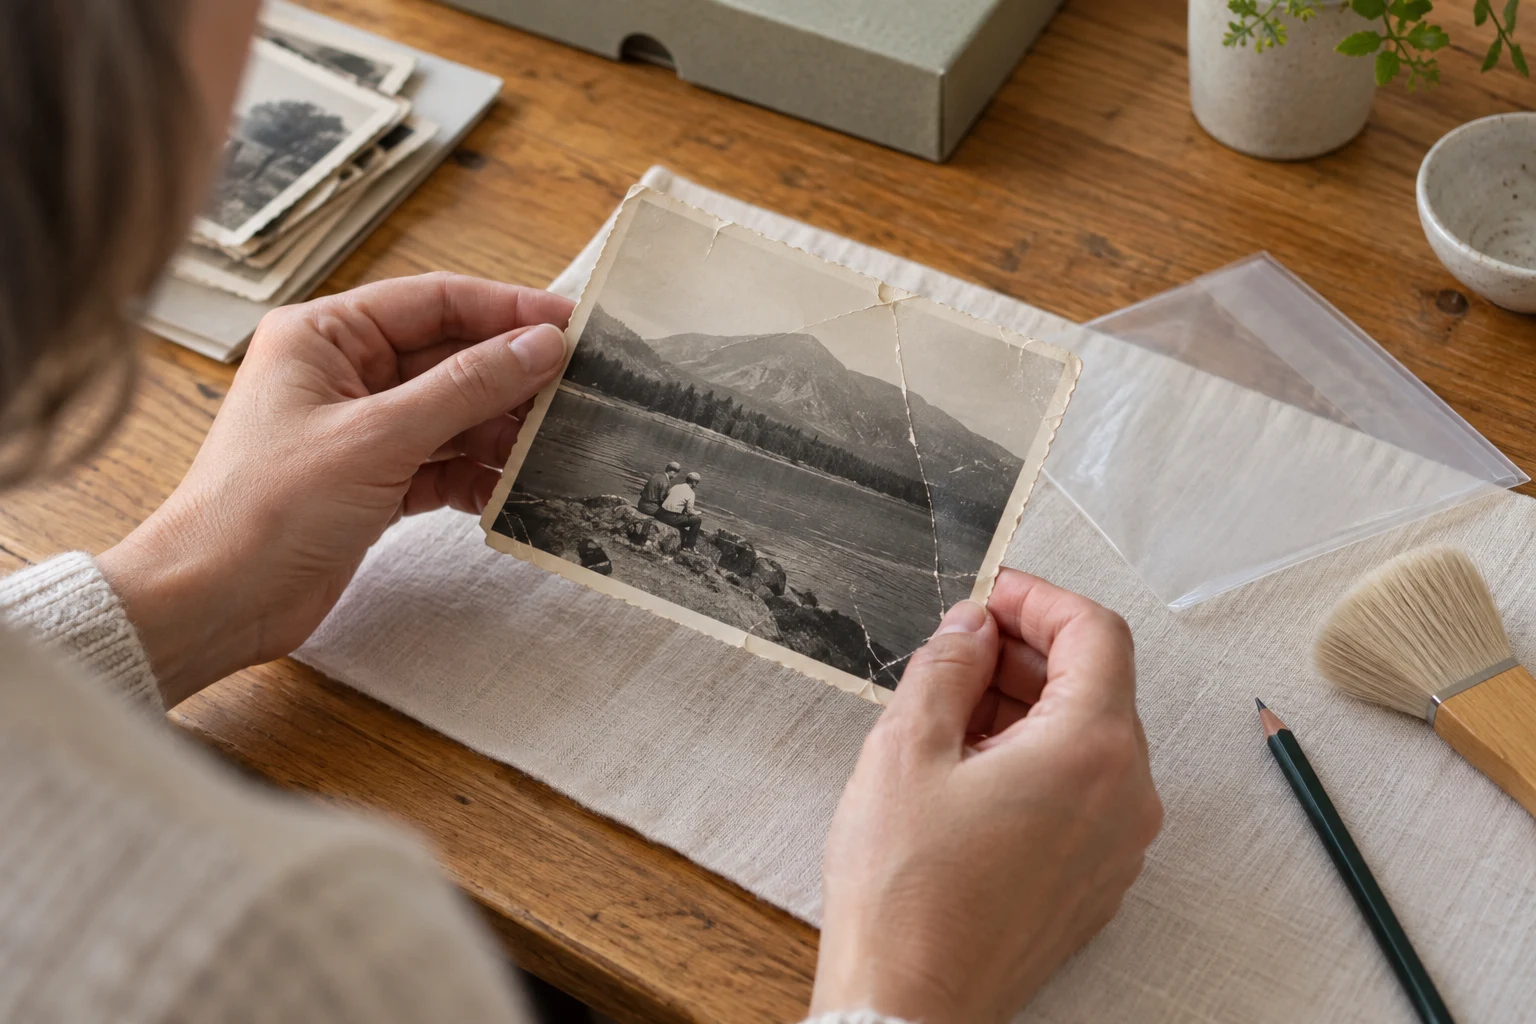
AI-generated illustration. It shows damage inspection only; it is not a real repaired photograph or a Photo Editor AI result.
Classify the damage before trying to remove it
Loose dust sits on the surface and may move when the print is gently handled. Do not rub it. The Library of Congress recommends a clean work area, edge handling, and an air bulb for loose dust; soft brushes can still scratch some surfaces. If the original is fragile, work from a scan rather than experimenting on the print.
A scratch is a narrow line or gouge. Its background determines the likely difficulty. On a uniform sky or wall, surrounding pixels may provide a reasonable texture reference. Through hair, text, glasses, or a face, the line interrupts important structure and should be treated as a missing region.
A crease changes the paper and can create a bright ridge, dark valley, or misaligned halves. It is not just a long scratch. A crease may duplicate an edge, shift a mouth, or hide a hand. Never press glass or Plexiglas onto a fragile photograph to flatten it; the Library of Congress gives that warning in its digitization guidance.
A missing area has no trustworthy pixels to borrow. A torn corner, emulsion loss, or large blank patch calls for reconstruction or manual drawing. Describe the result as reconstructed when you keep it. “Cleaned” implies more evidence than the source contains.
A practical automatic-restoration sequence
- Make a working scan. Preserve the original file and the physical print. Photograph or scan it evenly, without cropping away edges that help you judge a fold or tear.
- Mark the damage mentally by zone. Note whether marks lie in the background, clothing, hair, face, hands, or important objects. A single overall quality score cannot tell you which zone failed.
- Use one input at a time. The Photo Restoration page accepts one JPEG, PNG, or WebP and shows a 10 MB limit for this feature. Keep a copy below that limit only if you can do so without destructive recompression.
- Choose a crop ratio that preserves context. The interface exposes
auto,1:1,3:4,4:3,16:9, and9:16. Choose the composition that avoids cutting through the damaged area. This changes framing, not the amount of historical information. - Save the output beside the source. The page is configured to request a 1K JPG, but that request parameter does not verify the dimensions or quality of the downloaded file. Check the file itself; there is no damage-specific brush or strength control. Treat the output as a candidate, not a finished repair.
- Review the damage zones at close range. Compare line continuity, facial geometry, fingers, glasses, text, and repeated textures. Keep the candidate only if the repair is explainable from nearby evidence.
You can try the Photo Restoration tool when you have a preserved source and a clear review plan. Whether a particular scratch is removable depends on its location and the evidence around it, so judge the downloaded candidate zone by zone.
What to do when the mark crosses a face
Face-crossing scratches deserve a separate decision. First ask whether the source still shows both sides of the feature. If a line crosses the pupil, eyelid, nostril, or mouth and surrounding pixels are also damaged, an automatic result may create a plausible but unverified shape. Compare the candidate against another family photo if one exists. If you cannot cross-check the feature, keep the source and label the candidate as an interpretation.
An acceptable cleanup may leave a faint trace. That is often safer than a perfectly smooth strip that changes the expression. Check the eye spacing, jaw outline, teeth, hairline, glasses, and distinctive marks; this is the same identity test described in the likeness guide. Reject any output that changes the person even if the background looks excellent.
When local repair is better
Automatic repair is convenient for repeated small defects, but a local tool can give you control over one area. Adobe’s Spot Healing Brush documentation describes using nearby pixels to blend an imperfection, while its Healing Brush workflow lets you sample an undamaged area and paint it into the repair. The principle is useful even if you use another editor: choose a source patch with matching texture, work on a duplicate layer or duplicate file, and inspect the transition at normal size.
Local repair is a poor substitute for missing history. Do not clone a different person’s eye, invent lettering on a sign, or copy a cloud into a torn face and call it recovered. For a valuable original, an experienced photograph conservator can advise on physical treatment. Digital cleanup protects a copy; it does not reverse chemical or structural damage in the print.
Failure branches to plan for
- The background becomes a repeated pattern: undo or reject the candidate, then use a smaller local repair or keep the mark.
- A crease is flattened but edges no longer line up: compare the fold’s two sides. A smooth result with a shifted object is still wrong.
- A face looks younger or more symmetrical: treat that as likeness drift, not successful restoration.
- Text or dates change: keep the original as the authority. If a letter is unreadable, transcribe it as uncertain rather than letting a generated letter become family history.
- The image is too small or dark: look for another scan or source photograph. Upscaling can enlarge pixels; it cannot supply a missing event.
Finish by storing the original, the candidate, and a note of which marks were removed and which areas were reconstructed. A repair is trustworthy when its limits remain visible to the next person who sees the file.