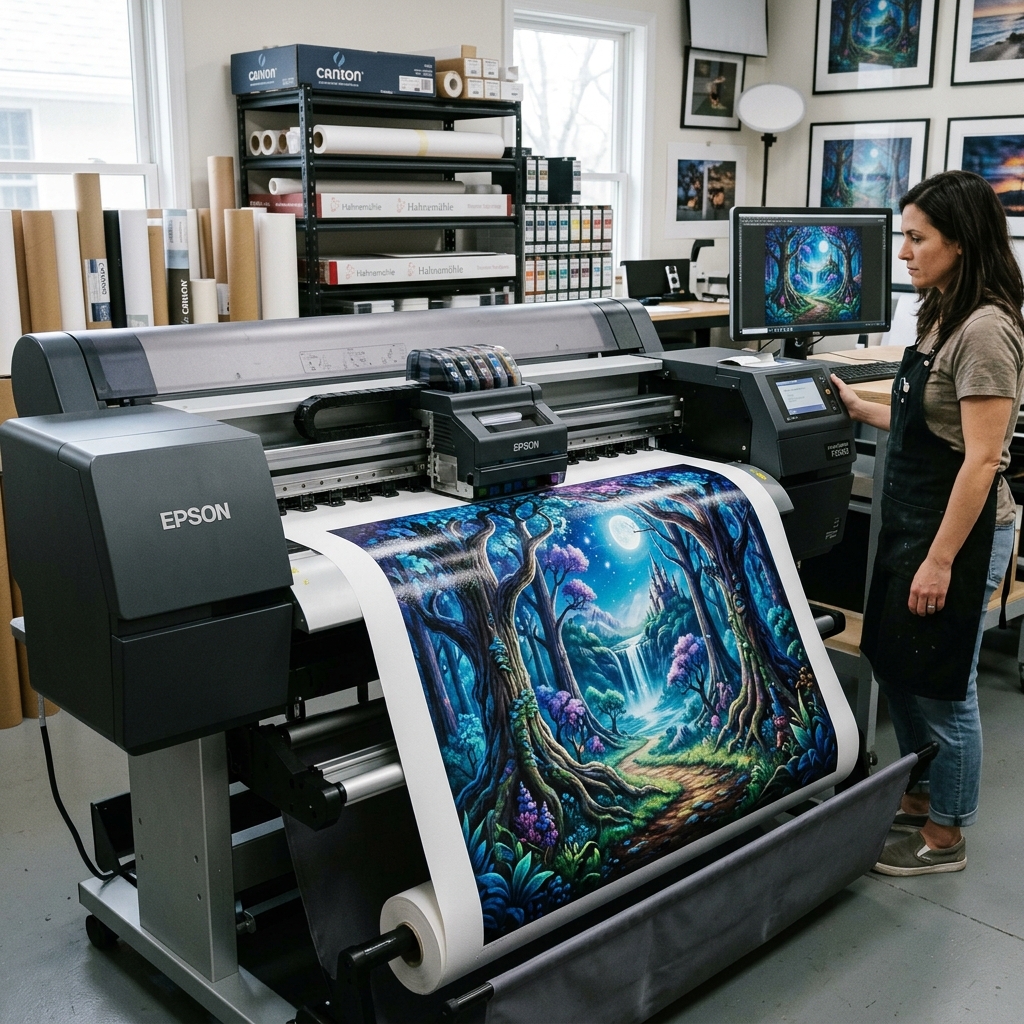
Midjourney represents one of the most powerful creative engines of our decade, producing stunning concept art, oil-painting mimics, and hyper-detailed surrealism. But there is a silent roadblock every AI artist hits when trying to move their digital creations into the physical world: the resolution barrier.
By default, Midjourney outputs images that are roughly 1 Megapixel (usually 1024 × 1024 pixels). While this looks beautiful on a 120Hz smartphone screen, printing it on physical canvas or photo paper will reveal ugly pixelation, blurred boundaries, and digital compression artifacts.
In this comprehensive guide, we will dive into the math behind print dimensions, review the native upscaling updates available in Midjourney V6, and provide a step-by-step workflow for using external AI upscalers to reach true 4K and 8K print-ready resolutions.
Why Midjourney Art Can't Be Printed Directly
To understand why direct exports fail on paper, we have to look at how printer nozzles transfer digital pixels to ink dots. Screen displays run on PPI (Pixels Per Inch), whereas printers run on DPI (Dots Per Inch).
For high-end gallery prints, the industry standard is 300 DPI. This means the printer needs 300 horizontal and 300 vertical pixels for every physical inch of paper.
Let's do the basic math for a standard 1024 × 1024 px Midjourney output:
1024 pixels / 300 DPI = 3.41 inches
This means your default output can only print as a tiny 3.4-inch square at professional quality. If you stretch that same 1024 px file to fill a standard 12 × 18-inch frame, the resolution drops to a muddy 85 DPI, causing visible pixel grids and fuzzy details.
"Without upscaling, printing AI art at medium to large sizes is like printing a compressed thumbnail. The printer has to stretch the color blocks, leading to immediate quality degradation."
Understanding Print Requirements: DPI, Resolution, and Pixels
To get a crystal-clear physical representation of your art, you need to match your target frame size with target resolutions. Here is a reference table outlining pixel densities required for popular physical frame sizes at 300 DPI:
| Frame Size (Inches) | Minimum Pixels for 300 DPI | Quality Status |
|---|---|---|
| 8" × 10" | 2400 × 3000 px | Excellent (Standard Desk Print) |
| 12" × 18" | 3600 × 5400 px | Great (Medium Poster Size) |
| 16" × 24" | 4800 × 7200 px | Ultra-HD (Premium Frame) |
| 24" × 36" | 7200 × 10800 px | Fine-Art Studio Grade (Collector Print) |
🖨️ Interactive DPI & Print Size Calculator
Test your Midjourney resolution output against physical print dimensions to analyze DPI density and prevent pixelation.
Image Dimensions
Physical Print Size
Details will look fuzzy or pixelated up close. Suitable only for billboards or posters viewed from 10+ feet away.
AI Super-Resolution Simulator (400% Zoom Detail)
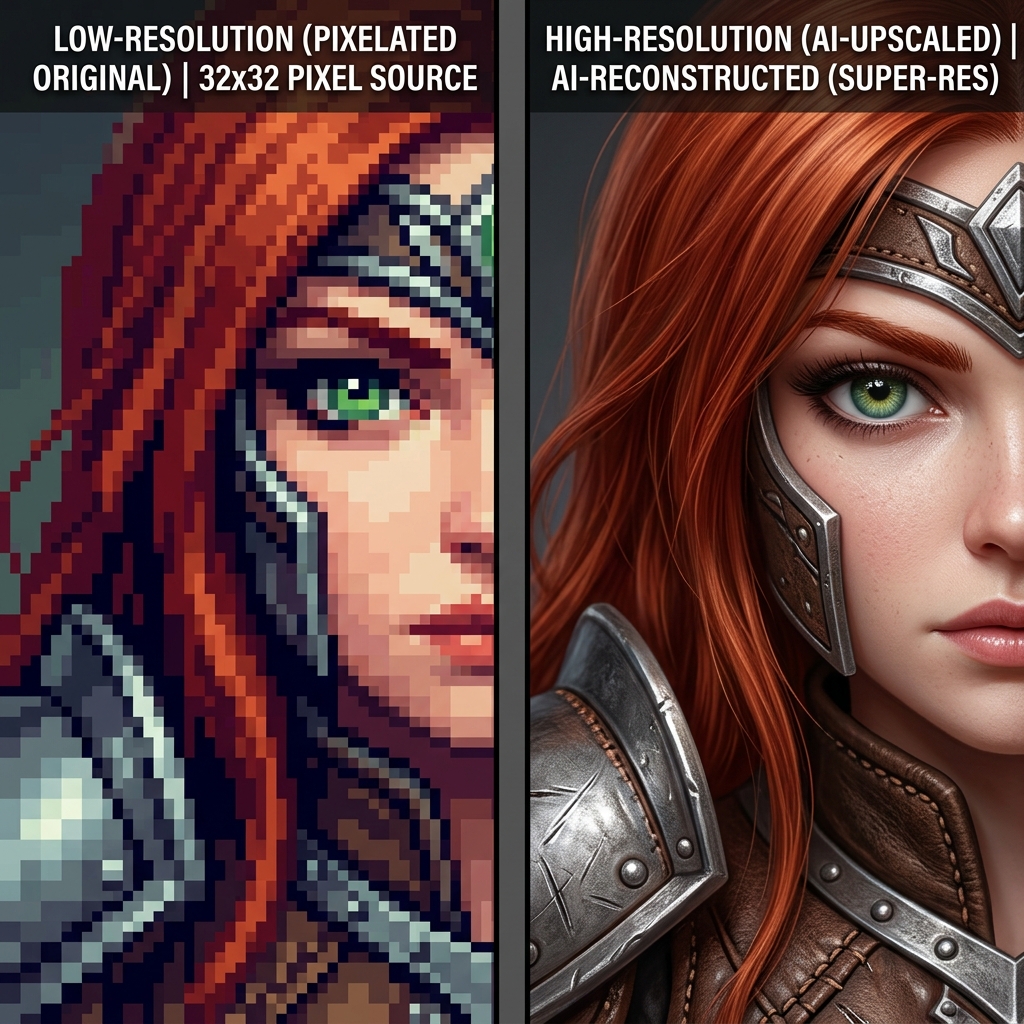
Toggle the simulator to visualize how standard pixel resampling (nearest neighbor / bicubic) compares to AI sub-pixel reconstruction. Traditional methods stretch existing pixels causing jaggy edges, whereas AI hallucinates new fine details.
The 2026 Midjourney Native Upscaling Capabilities
In recent model updates, Midjourney introduced native 2x and 4x upscaling options. After you generate and upscale a grid item, you will see buttons labeled Upscale (Sub-pixel) and Upscale (Creative).
Understanding the difference is critical before sending files to a printer:
- Upscale (Sub-pixel): This option scales the image by 2x while attempting to preserve the exact details, lighting, and textures of the original generation. It is the best choice if you are completely happy with the original layout and only need clean, smoothed edges.
- Upscale (Creative): This option adds new high-frequency details. It will recreate fine hair strands, microscopic textures, and surface shading that were missing in the low-res model. While it makes the image look sharper, it can occasionally alter small text, eye pupils, or subtle details.
Step-by-Step Guide to Upscaling Midjourney Art with Photo Editor AI
While Midjourney's native tools are convenient, they max out at roughly 2048 × 2048 px. For professional-grade prints, you must use an external AI super-resolution system like the Photo Editor AI Crisp Upscaler.
Here is the exact step-by-step workflow:
Step 1: Download the Uncompressed Source
Avoid saving Midjourney images directly from Discord mobile or web previews, as they are compressed. Instead, click the image in Discord, select "Open in Browser," and save the PNG file directly from the unique URL.
Step 2: Upload to Photo Editor AI
Go to the AI Crisp Upscaler. Our system processes files via secure, high-bandwidth pipelines to preserve color integrity.
Step 3: Select Upscaling Multiplier
Choose between 2x, 4x, or 8x upscaling. For a standard 1024 px image, choosing the 4x modifier will output a highly dense 4096 × 4096 px file, which easily prints up to 14 × 14 inches at 300 DPI. Selecting 8x outputs an 8192 × 8192 px file, suitable for large wall panels.
Step 4: Choose the Processing Model
Select the model that fits your art style:
- Art/Illustration Mode: Cleans up flat color fills, paint brush textures, and sharp outlines (ideal for anime, vector art, or watercolor scenes).
- Photo/Realistic Mode: Preserves skin pores, fabric weaves, and atmospheric dust (ideal for hyper-realistic renders).
Traditional Resampling vs. AI Super-Resolution
Why can't you just open a photo editor and change the image size? Changing image dimensions manually triggers traditional interpolation algorithms like Bicubic or Lanczos.
These algorithms do not understand what the image contains. They simply look at adjacent pixels and average their colors to fill the new spacing. This math results in blurry halos around silhouettes and muddy textures.
In contrast, AI Super-Resolution uses deep neural networks (specifically GANs or latent diffusion models) to predict what details *should* exist. The model identifies an eye, a brick wall, or a leaf, and recreates the sharp highlights and shadows a high-resolution camera would have captured, resulting in realistic clarity.
Best Paper and Color Profile Choices for Printing AI Art
Once your resolution is upscaled, you must format the file correctly to avoid printer errors:
1. Convert sRGB to CMYK
Midjourney generates files in the sRGB color space, which is designed for back-lit electronic displays. Printers use a physical ink system (Cyan, Magenta, Yellow, Key/Black - CMYK), which has a smaller color gamut.
Before printing, import your upscaled image into an editor like Photoshop and convert the profile to a standard print gamut like GRACoL2013 or Coated FOGRA39. This allows you to preview and adjust neon or highly saturated colors that might look dull on paper.
2. Select the Right Paper Stock
The texture of your paper determines how the AI details translate to the physical world:
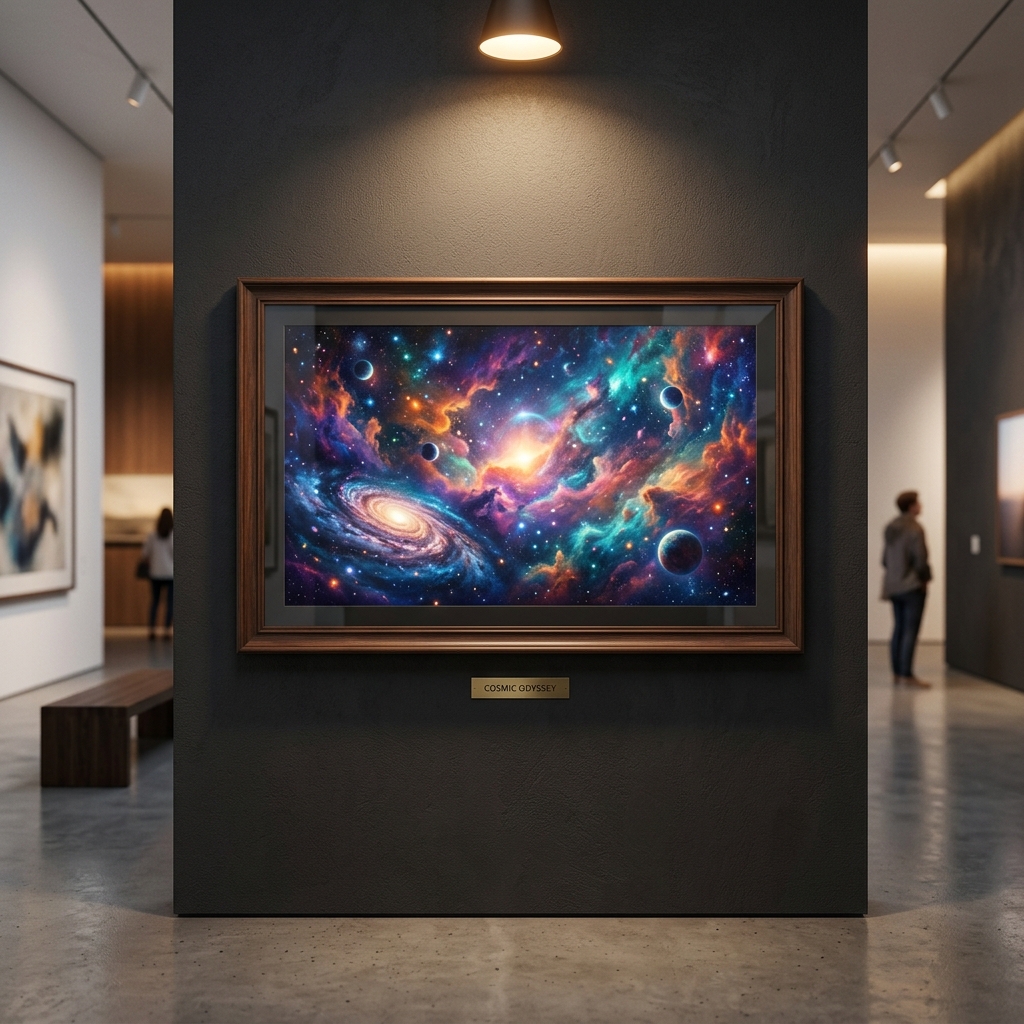
- Matte Fine Art Paper (Giclée): Best for watercolor, Ghibli style, or classical painterly renders. The soft texture absorbs ink deeply, providing rich blacks and a non-reflective, premium gallery feel.
- Metallic Photo Paper: Ideal for sci-fi, neon cyberpunks, or highly detailed fantasy renders. The metallic shine amplifies digital lighting effects.
- Canvas: Good for oil-painting mimics. Canvas texture can mask minor resolution flaws, making it forgiving for lower-DPI prints.
Frequently Asked Questions
What DPI is needed for printing Midjourney art?+
Can you upscale directly inside Midjourney?+
What is the difference between Sub-pixel and Creative upscalers?+
How do I convert Midjourney images from sRGB to CMYK?+
Conclusion & Your Next Print
Upscaling is the essential bridge between digital AI creation and physical fine art. By targeting 300 DPI, choosing secure external AI upscalers to reach resolutions of 4K or 8K, and converting your color profiles to CMYK, you can produce crisp, professional physical prints of your Midjourney art that will look stunning in any gallery.
Start experimenting with your travel catalog today and turn your favorite journeys into painted anime masterpieces. Visit the Photo Editor AI Crisp Upscaler and prepare your artwork for the physical frame.