To enlarge an old photo for printing, start with the scan rather than a promised output size. A print has a physical width and height; a digital file has pixels. The relationship between them determines whether a proposed print is detailed enough to be useful. Restoration may clean damage, and upscaling may create a larger file, but neither can prove that missing detail existed in the original. Calculate first, preserve the source, inspect the enlarged face and edges, and make a small proof before ordering a large print.
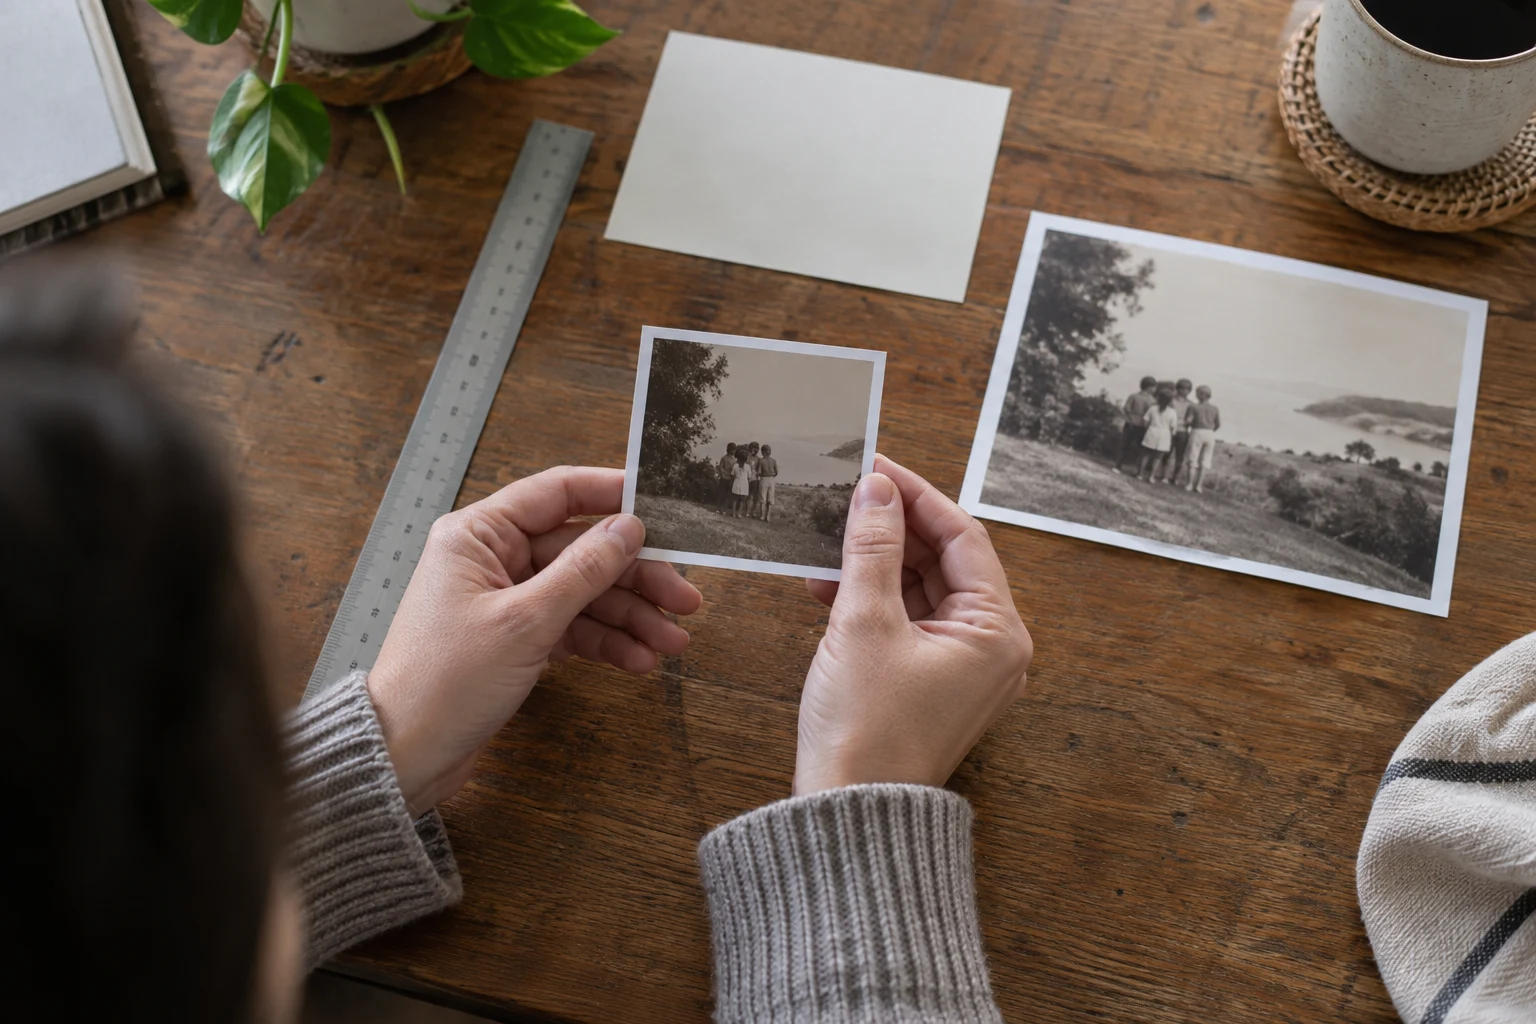
AI-generated illustration. The scene is fictional and demonstrates a print-checking habit; it is not a measured Photo Editor AI export or a verified proof.
Start with the scan you actually have
Scan the print without cropping away useful borders, then save the untouched file. Handle a fragile original carefully. The Library of Congress advises a clean work area and warns against placing glass or Plexiglas on top of photographs to flatten them. If the print is brittle, stuck, moldy, or valuable, get preservation advice before trying to capture it.
Record the file’s pixel dimensions. Suppose a labeled example scan is 2,400 × 3,000 pixels. That is a worked example, not a measurement of your file. If you print it at 300 pixels per inch (ppi), the unscaled dimensions are:
text
width: 2,400 ÷ 300 = 8 inches
height: 3,000 ÷ 300 = 10 inches
At 200 ppi, the same file maps to 12 × 15 inches. The lower density may be acceptable for a larger viewing distance, but it does not add detail. This is simply the relationship between pixels, ppi, and physical size; interpolation can create more pixels without creating equivalent source detail. Use the calculation to set an expectation, not a guarantee.
If your file is 1,200 × 1,500 pixels, a 4 × 5 inch print at 300 ppi is a direct calculation. A 12 × 15 inch print would require enlargement, and you should inspect a proof rather than assume the larger file will look like a higher-resolution scan.
Restore first, enlarge second, and keep both files
Use the least destructive order that matches the defect:
- Archive the scan. Keep the original dimensions and file metadata. Make a working copy for any crop, tonal change, or repair.
- Repair damage while it is easy to see. If a scratch crosses a face, judge it with the damage guide and do not let an enlarged, smooth face hide a wrong reconstruction. For identity-sensitive photographs, the likeness checklist should come before printing.
- Use Photo Restoration only as a candidate step. The page takes one JPEG, PNG, or WebP and shows a 10 MB check for this feature. It does not offer a print-resolution control, so read the downloaded file’s dimensions before you calculate a print.
- Upscale a chosen candidate separately. The inspected Crisp Upscale flow sends an image to its provider but exposes no target resolution, multiplier, aspect-ratio, or batch setting. The marketing word “4K” therefore cannot be used as evidence of a particular pixel width. Read the downloaded file’s dimensions yourself.
- Export without overwriting the restoration candidate. Name files with their stage and dimensions, such as
family-scan-original-2400x3000andfamily-candidate-review. The names are an organization example, not a claim about an output.
The Crisp Upscale tool may be useful for the enlargement step when you can verify its returned file. The Photo Restoration tool belongs earlier when scratches, fading, or damage need attention. Neither page should be treated as a print proof.
Check pixels, crop, and important detail
Before ordering, open the exported file and read its actual width and height. Do not infer dimensions from a filename, a “4K” label, or the preview size in a browser. Confirm that the aspect ratio still matches the intended paper. A crop that removes a border can also remove a date or change the visual balance.
Inspect three zones at 100% and at the approximate size of the print:
- Faces and hands: Look for changed eyes, teeth, fingers, glasses, and hair. A sharper edge can be invented detail.
- Fine lines and text: Check lettering, jewelry, fabric, and architectural edges for repeated or melted patterns.
- Smooth areas: Skies and walls should not show obvious tiles, halos, or over-sharpened outlines.
The Federal Agencies Digitization Initiative notes that tone and color reproduction matter alongside resolution. That is why a technically larger file can still make a poor print: the enlargement may exaggerate a color cast, clipped highlight, or blocked shadow. Correct those issues in the working file, while keeping the source available for comparison.
Make a small proof, then decide on the final size
A proof is a recommendation, not a result we have run for you. Export a small crop containing the most important face, the finest texture, and a representative background. Print it at the intended paper type or at a size that exposes the same problem. View it under ordinary room light and at the distance from which the final print will be seen.
Reject or revise the file when skin looks waxy, edges have halos, faces drift, or shadows become empty blocks. If the proof works but the final size is much larger, make a second proof that includes the full composition. Large prints reveal defects that a phone preview hides.
Keep the proof with the source and a note of the calculation used. For a family archive, label any AI-assisted reconstruction so a plausible new texture is not mistaken for a detail present in the original photograph.
What an enlargement cannot promise
An enlargement cannot recover a face that is absent or prove an original color that has faded. It can give you a larger working canvas, but the meaningful test is the file you downloaded and the proof you inspected—not a label attached to the tool.
When the source has historic, legal, or sentimental importance, preserve the scan and consider a professional print or photograph conservator for the original. A careful calculation, a recorded source, and a rejected bad proof are signs of good restoration practice—even when the right decision is to print smaller.