Restoring a faded color photo is partly an image-editing task and partly a history problem. You can often improve contrast or reduce a cast, but you usually cannot prove the exact original color from one aged print. A red shirt may have faded toward brown, or it may always have been brown. A careful workflow separates what the scan shows from what an editor or model is guessing, then checks skin, clothing, neutral objects, shadows, and highlights before the file is shared or printed.
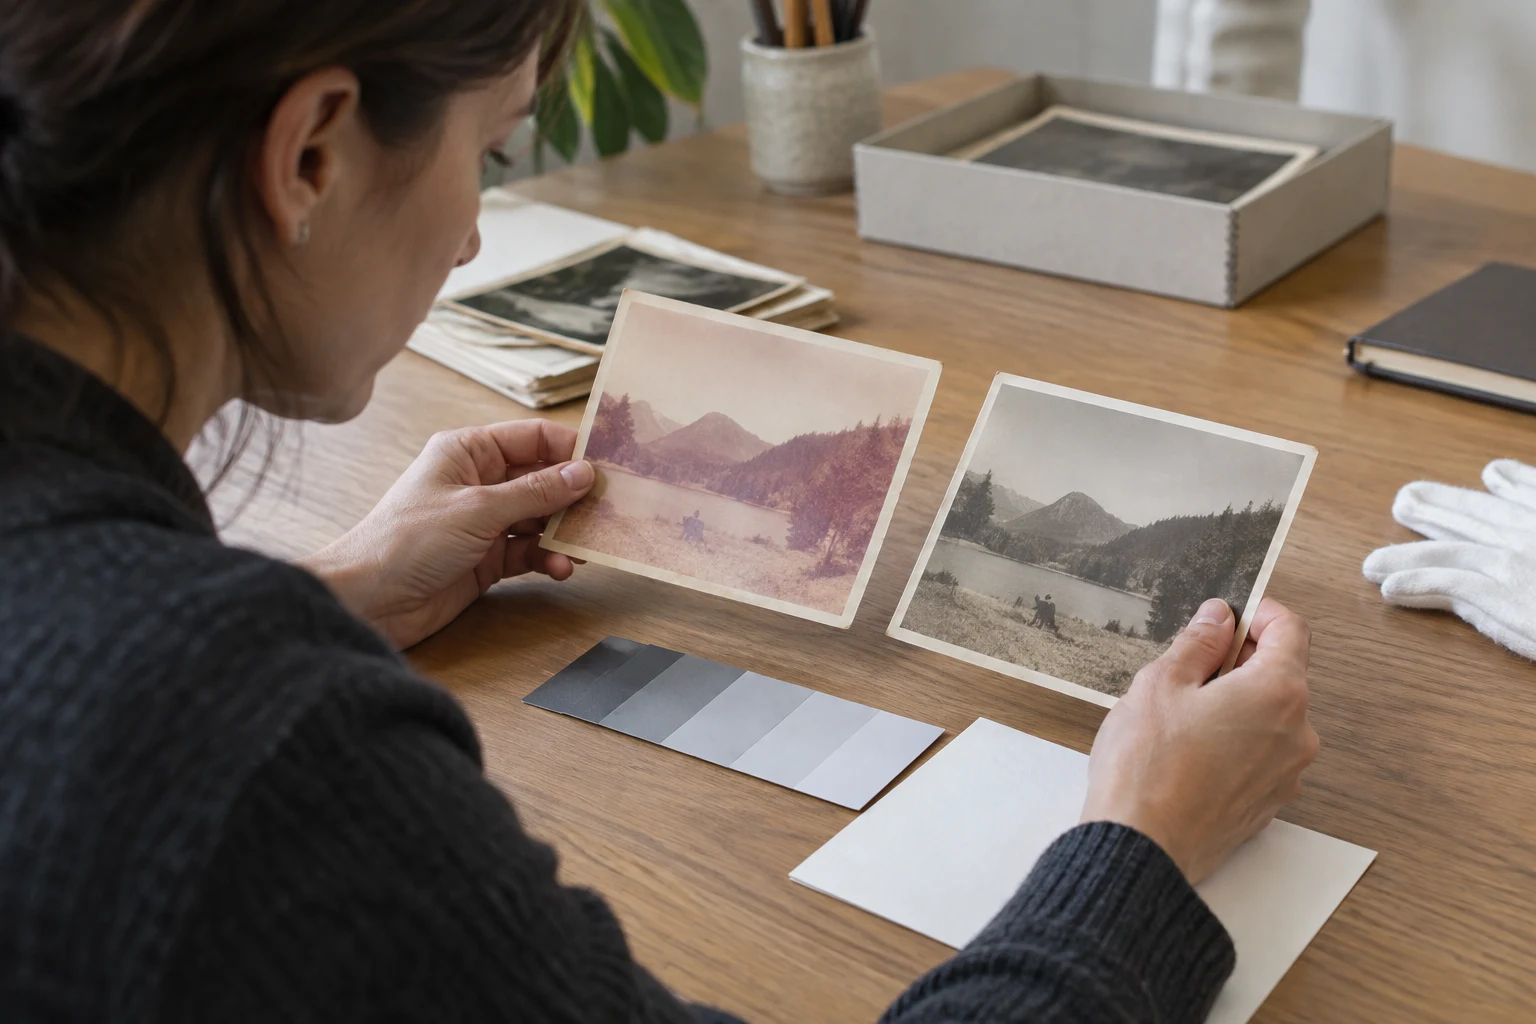
AI-generated illustration. The scene is fictional and shows color review; it is not a real color-corrected sample or a Photo Editor AI result.
Fading, color cast, and recoloring are different jobs
Fading reduces contrast or saturation across much of the image. Details may still be present but look weak. A color cast shifts the whole image toward yellow, magenta, cyan, or another hue, often because of the print, scanner, lighting, or aging materials. Recoloring assigns a color where the source provides little or no reliable evidence. These problems can overlap, but they should not be described as the same kind of recovery.
The Library of Congress notes that heat, humidity, light, and pollutants can contribute to fading and discoloration in photographic materials. That explains why two prints of the same scene may no longer agree. The archive also recommends preventive care and photo-safe storage; editing a scan does not repair the physical print. Keep the original in a stable, protected environment and use the scan as a working copy.
Before you change anything, write down what you know. If a family member remembers that a jacket was navy, record that as supplied context rather than as a pixel fact. If a neutral object—white paper, a gray wall, or a metal surface—appears in the frame, it can help you judge a cast, but it may itself be discolored.
A restrained color-restoration workflow
- Preserve the untouched scan. Save a full-frame copy and a working copy. Include borders and notes until you have finished your decisions.
- Inspect for a global shift. Look at several neutral-looking areas. If all neutrals lean warm, test a small cast correction before increasing saturation. Do not fix one face by making the background implausibly blue.
- Check exposure before saturation. A dark image can appear dull because shadows are blocked. Lift tone carefully and watch highlights on skin, sky, and white clothing. More saturation is not the same as recovered color.
- Use one image and a fitting crop. Photo Editor AI’s Photo Restoration page supports one JPEG, PNG, or WebP input and offers
auto, square, portrait, landscape, and phone-shaped ratios. Its client-side limit for this feature is 10 MB. Choose a ratio that keeps the important context; cropping cannot restore information. - Keep the result as a candidate. The page is configured to request a 1K JPG, but that request parameter does not verify the dimensions, color accuracy, or quality of the file you receive. Review the download at normal size and close range, and compare it with the scan before deciding whether the colors look restrained.
The Photo Restoration tool can be a next step for a preserved working copy. Its output should be checked for color plausibility; this article does not claim that any particular color will be restored accurately.
How to judge skin, clothing, neutrals, and highlights
Use several anchors instead of asking whether the image “looks nicer.” Skin should remain varied rather than uniformly orange or gray. Compare different faces and skin areas if the photo contains more than one person; a single global adjustment should not make every person identical.
Clothing and painted objects are useful only when you have context. A remembered color can guide a family caption, but it does not turn an AI guess into evidence. If a red dress becomes a saturated scarlet with no visible support in the scan, mark it as uncertain. Background foliage, sky, and walls can also be plausible in many colors, so do not let a vivid result imply historical accuracy.
Neutrals help expose a cast but are not perfect references. Check a white collar, gray stone, or paper edge in several parts of the image. If the correction makes one neutral believable and another strange, the light or material may not have been neutral in the original. Preserve the version that makes the uncertainty visible instead of forcing one global answer.
Finally, check highlights and shadows. Clipped white faces, neon clothing, or crushed dark hair can make a color correction look dramatic while destroying detail. The Federal Agencies Digitization Initiative treats tone and color reproduction as important alongside resolution; that is a useful reason to assess both, even when your goal is a family print rather than an archive master.
Failure branches and honest labels
- The whole photo turns orange or cyan: return to the scan, reduce the global correction, and inspect multiple neutrals. A strong cast can hide the original uncertainty.
- Skin looks gray after removing warmth: the warmth may be part of the scene’s light or the material. Correct gently and compare a second face or a known neutral before continuing.
- Clothing colors look vivid but unsupported: keep the restrained version and label any recoloring as interpretive.
- The image was black and white: colorization is a separate creative reconstruction. Do not call the colors recovered from the original.
- A face changes during restoration: stop and use the identity checks in the old-photo likeness guide. Color that looks convincing does not excuse an altered person.
- The print is valuable or physically unstable: stop handling experiments and consult a photograph conservator. Digital correction cannot reverse physical decay.
Prepare a print or shareable copy
Keep the scan, the restrained candidate, and a note stating whether color was corrected, reconstructed, or left uncertain. If you plan to enlarge the file, calculate print dimensions and inspect a small proof with the print workflow. A larger image can make a color cast and clipped highlight more obvious; it does not make an uncertain color historical fact.
The best restoration may look modest. It improves legibility while leaving room for the original photograph—and its unknowns—to remain part of the story.