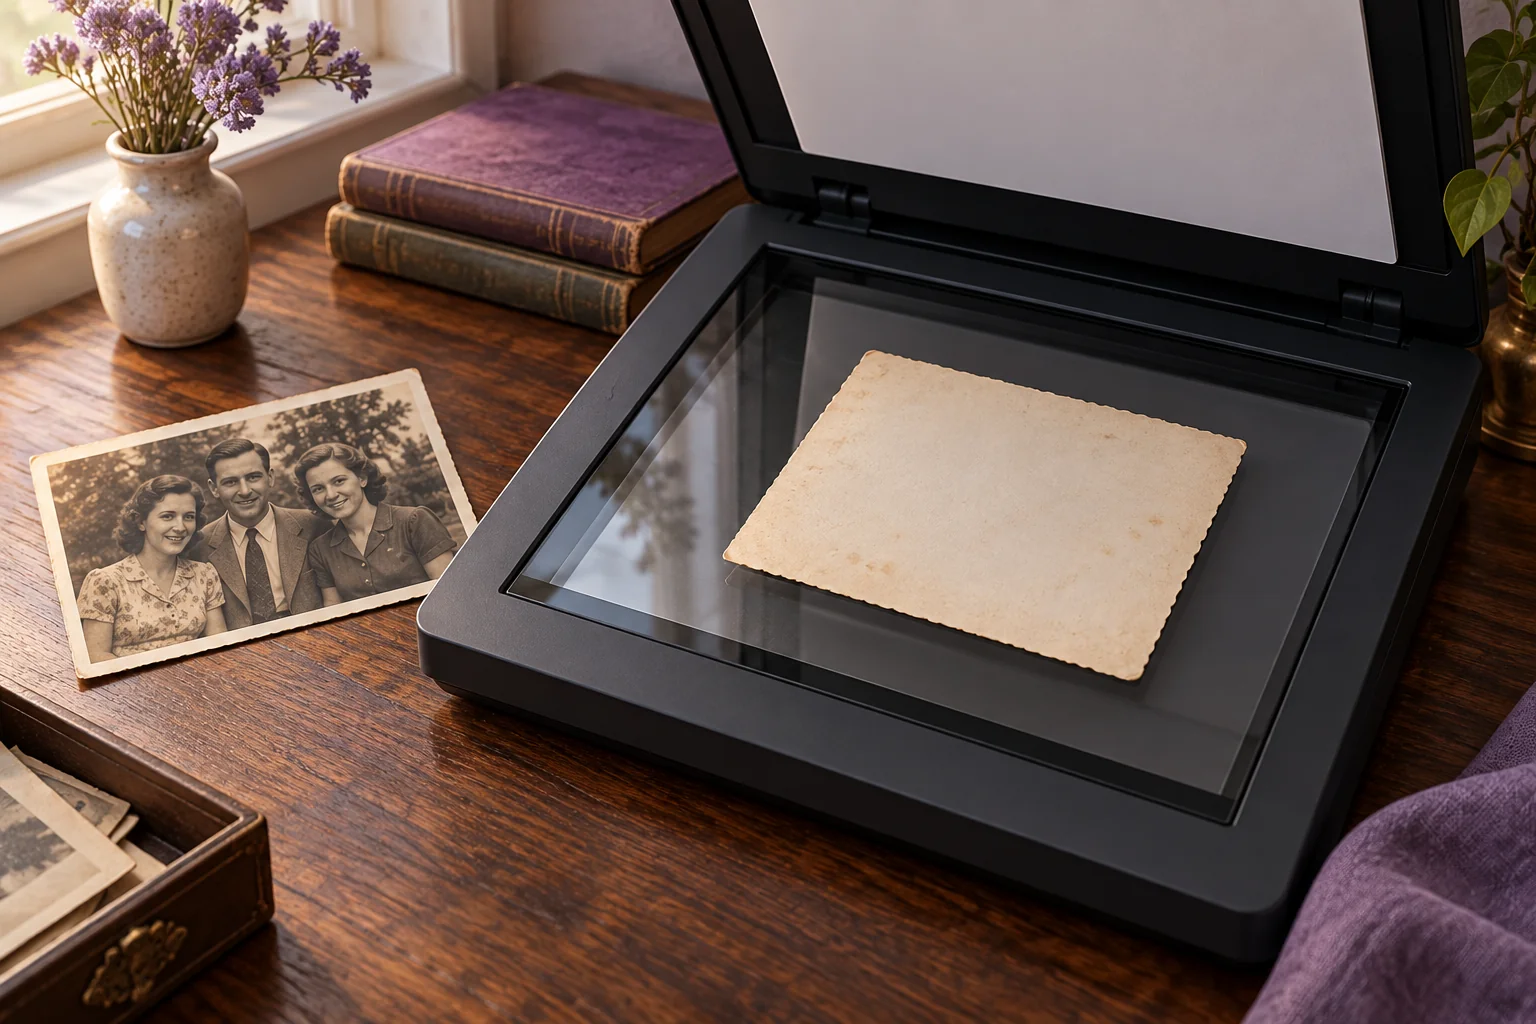
To scan old photos for restoration, capture the whole photograph clearly, keep an unedited master, and make a separate copy for uploading. For a small, stable print, a 600 ppi scan at original size is a useful starting point to evaluate. Check focus, glare, borders, and the smallest important face before scanning the rest of the collection.
This checklist covers preparation and review; it does not report a scanner comparison or measured AI-restoration results.
Check the physical photograph first
Set up a clean, dry table with enough space for the photograph and its housing. Handle a print by the edges or its protective enclosure, keeping fingers off the image. Avoid attaching labels directly to it. The Library of Congress also cautions that even soft brushes can scratch photographs; its guidance suggests an air bulb, rather than canned air, for loose surface debris. Read the Library’s photograph-handling advice.
Stop if the photograph is stuck to glass or another print, its surface is flaking, or it cannot lie comfortably without pressure. Do not flatten it under glass, peel it free, or force an album against a scanner. Those are physical-conservation problems. The Library of Congress digitization guidelines identify fragile, stuck, cracked, and separating materials as needing specialist assessment and sometimes exclusion from scanning.
Keep the original after digitizing. A restored file is another version of the image, not a reason to discard the physical source. The National Archives explicitly advises retaining originals because digital copies can also be lost. National Archives digitization guidance.
Choose a capture method that fits the object
Use the condition check to choose your next step:
| Original | Sensible next step | Stop condition |
|---|---|---|
| Loose, stable print that fits comfortably on the glass | Make a flatbed scan with the whole print inside the capture area | The lid would press on an overhanging edge |
| Photograph attached to an album page | Photograph the supported page and preserve its context | You would need to pull out the photo or force the binding |
| Curled, brittle, sticky, or flaking photograph | Ask a photograph conservator about handling and digitization | Any attempt to flatten or separate it risks damage |
| Stable print, with only a phone available | Make a careful camera copy and inspect it before editing | Glare or blur hides important facial or written detail |
| Slide or negative | Check that the equipment and workflow support that material | You only have a setup intended to capture opaque prints |
For bound material, the National Archives recommends a camera copy stand and suitable supports so the binding opens comfortably. Its guidance also warns that scanner lids can damage originals that do not fit. See the equipment considerations.
For valuable or fragile photographs, avoid a document feeder. The Library of Congress excludes form-feed equipment for these collection materials. Its scanning-equipment guidance explains the handling concern.
Choose scanning resolution by the pixels you need
Set the scan area first, then select original size or 100% scale so the calculation is clear. Scanner software often calls the setting “dpi”; this guide uses “ppi,” meaning pixels captured per inch of the original. FADGI’s technical guidance distinguishes that sampling rate from image quality: more pixels alone do not guarantee more useful detail. FADGI technical guidelines, section 7.1.
The calculation for each side is:
Length in inches × scanning ppi = expected pixels
Here are calculated examples at 100% scale, before cropping or resizing:
| Scanned area | Setting | Expected image dimensions |
|---|---|---|
| 4 × 6 inches | 300 ppi | 1200 × 1800 pixels |
| 4 × 6 inches | 600 ppi | 2400 × 3600 pixels |
| 2 × 3 inches | 600 ppi | 1200 × 1800 pixels |
| 2 × 3 inches | 1200 ppi | 2400 × 3600 pixels |
The small print needs a higher sampling rate to reach the same pixel dimensions. Check the exported width and height: borders, the selected scan area, and later crops can change them.
Our practical starting point is 600 ppi for ordinary small snapshots. Consider a higher capture setting for a small, detailed original if the scanner supports it. Check the scanner’s documented optical resolution rather than assuming an “enhanced” or interpolated setting represents additional captured detail. An enlarged file is not evidence of a sharper scan. Epson’s explanation of optical and interpolated resolution shows the distinction.
Evaluate one scan before committing to a batch. Compare a face and some fine clothing detail at the same displayed size. If a higher-resolution scan adds only a larger view of the same blur, investigate focus, the original’s detail, or another capture method. Do not keep increasing the number without seeing a useful improvement.
Capture a master before applying restoration
For the first saved scan, leave optional automatic color restoration, dust removal, and sharpening off where the software permits. You want a reference that records the print’s present appearance. FADGI similarly separates faithful capture from transformative treatments such as colorization, filling missing areas, and removing original blemishes. Its capture guidance supports keeping those changes in a separate version.
Choose a color scan when you want to preserve sepia tone, paper color, colored handwriting, or stains as part of the record. You can make a neutral black-and-white interpretation later from a copy.
Save an uncompressed TIFF master if your scanning software offers it and you can manage the file size. The Library of Congress describes TIFF’s use for master scans and its support for several encodings; choosing uncompressed avoids ambiguity about compression. Library of Congress TIFF format description.
If your device only saves JPEG, keep its highest-quality original export untouched. Edit a duplicate, and retain the source even if you later make a better scan.
Preserve borders, backs, and album context
Capture the complete front with a small visible margin around its edges. Check that automatic cropping has not cut off a handwritten date, a studio name, a decorative border, or someone at the edge of the image.
Check the back. If it carries writing or a stamp, capture it separately using the same identifier. If the photograph is attached to an album, preserve an overview of the page before making a closer camera copy, where safe handling allows it.
A simple record might look like this:
| File | Purpose |
|---|---|
family-0042-front-master.tif |
Complete, unedited front |
family-0042-back-master.tif |
Back with inscription or stamp |
family-0042-upload.jpg |
Prepared copy for the restoration tool |
family-0042-restored-v1.jpg |
Downloaded result kept separately |
In a text note, record the people, place, approximate date, and who supplied the photograph. Transcribe uncertain handwriting with a question mark rather than silently guessing. The National Archives recommends basic “who, what, where, when” metadata and clear filenames. Its naming and metadata advice is a useful foundation.
If you use a phone, inspect the capture before editing
For a stable print, hold the camera directly above it and keep the phone parallel to the photograph. Include the complete image and check that your reflection or shadow is not covering it.
Google PhotoScan offers a guided option: after the first capture, you move the phone over four targets for processing. Its help page advises against tilting the phone and lets you adjust the detected corners. Follow that app’s own lighting instructions when using its glare-removal workflow. Google’s PhotoScan instructions.
Inspect the saved image rather than trusting the live preview. If glare covers an eye, handwriting, or a dark area, change the setup and capture again. Correct avoidable glare and camera blur before turning to AI restoration.
The physical-condition checks above apply even if an app suggests removing a photograph from its album or sleeve. Leave attached or stuck material alone.
Make an upload copy and run the final checklist
Photo Restoration accepts one image at a time in JPEG, PNG, or WebP, with a 10 MB upload limit. Export the prepared copy in a supported format; keep a TIFF master separately. If necessary, reduce the upload copy’s file size and reopen it to check the face before proceeding.
Before you upload, confirm:
- The master opens correctly, and another copy is stored separately.
- The front is complete; useful back or album information is recorded.
- No glare, shadow, or camera blur hides an important feature.
- The smallest important face is visible when you inspect the file closely.
- The upload copy has the intended crop and supported format.
- The restored result will receive a different filename from the master.
The Library of Congress recommends descriptive organization, multiple copies in different places, and periodic checks that files remain readable. Its personal digital-photo guidance gives a manageable preservation routine.
After restoration, use the face-preservation checklist to compare identities and detail. When you are ready to choose an output size, continue with enlarging old photos for printing.
Frequently asked questions
Is 300 or 600 ppi better for scanning old photos?
Choose by the original’s size and the pixels you want to capture. A 4 × 6-inch area gives 1200 × 1800 pixels at 300 ppi and 2400 × 3600 at 600 ppi. Start with one sample and inspect it; the larger file is useful only if the capture and original support the detail you need.
Should I crop off the white border?
Keep it in the master, especially if it contains a date, a stamp, or other identifying information. Crop a separate upload or display copy when that suits your purpose. Preserve the complete original framing so you can revisit the decision.
Can I upload the restored result as my new master?
Keep the first unedited capture as your master and save the restored output separately. You can then compare later versions with the source or choose a different treatment without depending on an earlier AI interpretation.