The safest way to brighten a dark photo is to treat the face, the shadow areas, and the highlights as three separate checks. A single brightness boost can reveal a little more of a portrait while turning skin orange-gray, flattening contrast, or exposing noisy shadows.
This guide gives you a repeatable order for correcting an underexposed photo. It also explains where a one-click tool such as Photo Editor AI’s Auto Perfect can fit, and where you still need to judge the result yourself.
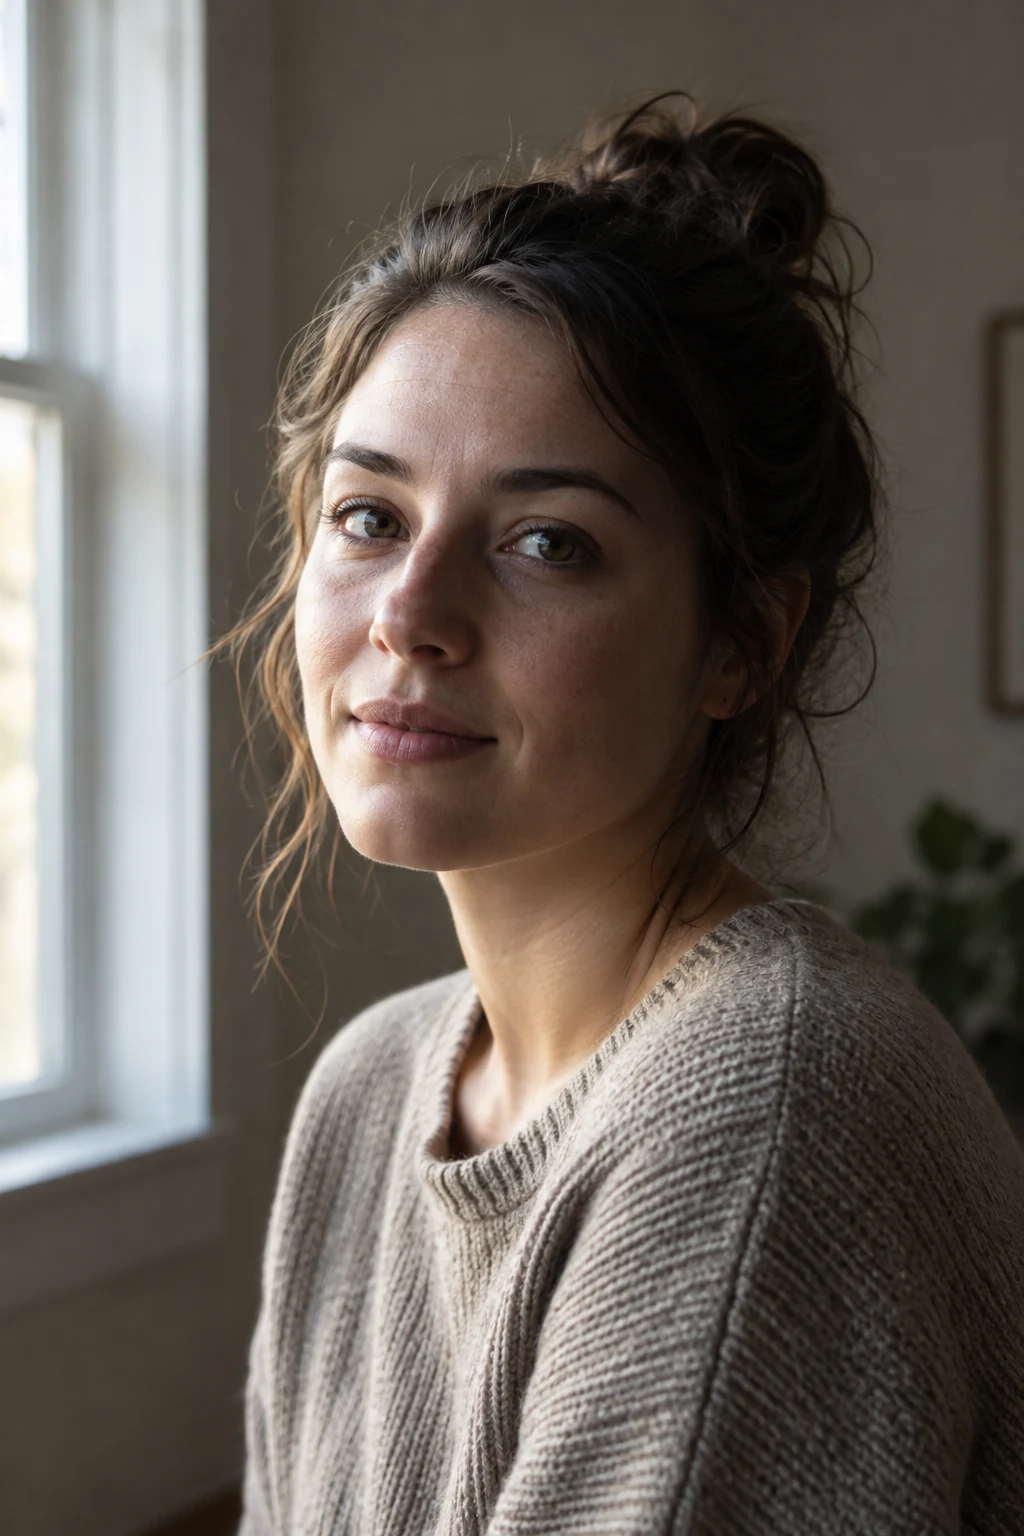
AI-generated illustration of a dark portrait being evaluated by its skin, shadow, and highlight areas. It is a teaching visual, not a Photo Editor AI output or a before-and-after test.
First decide what “dark” means
A photo can look dark for several reasons:
- The whole frame is underexposed, so the face, background, and bright areas all sit too low.
- The subject is backlit, so the face is dark while the sky or window is already bright.
- The image has deep creative contrast, even though the main subject is correctly exposed.
- Shadow detail is present but hidden by a small screen or a dim viewing environment.
Look at the original at a comfortable screen brightness before editing. If the face is readable but the room is moody, you may only need a small tonal adjustment. If the face is nearly black and the background is already white, lifting the entire image will usually sacrifice the background.
Use the three-zone check
Whether you edit manually or use an automatic enhancement, inspect the same three zones in the same order.
1. Face and skin
Check the cheeks, forehead, and the shadow under the chin. Skin should have variation: broad tone, small texture, and a transition between light and shade. A brightened face that becomes flat or chalky has lost more than exposure.
Also check colour. A dark image may have a warm indoor cast or a cool shadow cast. Brightening does not fix that by itself. If skin turns orange, pink, or gray as you raise the light, stop and adjust colour separately where your editor allows it.
2. Shadow areas
Look behind the subject, inside dark clothing, and around hair. Some shadow detail may be recoverable. Other areas contain too little recorded information, so an editor has to smooth, invent, or amplify noise.
Adobe’s Lightroom documentation describes Exposure as overall brightness and Shadows as the brightness of darker areas. That distinction is useful even if your editor uses different labels: raise the overall level only enough to orient the image, then use a more targeted shadow adjustment when the face or background is the actual problem. Adobe also warns that over-applying a shadow lift can reveal noise.
3. Bright areas
Check the sky, a window, white clothing, and reflective objects. If they are already close to white, increasing exposure may clip them into featureless patches. Adobe documents Highlights as the control for lighter areas and recommends moving it down when you need to recover highlight detail.
This is why “make it brighter” is not a sufficient acceptance test. A good correction makes the important subject easier to read while keeping bright areas and edges under control.
A restrained manual workflow
- Keep the original. Work on a copy or use a non-destructive editing mode. You need the original later to judge whether texture or colour was lost.
- Set a neutral viewing condition. Avoid judging the file with a very bright phone screen or a dark room. You are trying to see the image, not the display’s compensation.
- Raise the overall exposure a little. Stop when the face is readable. Do not chase a bright background at the same time.
- Lift shadows selectively. Use a shadow control, local adjustment, or a gentle curve if available. Watch the hair, clothing, and background for noise and halos.
- Protect highlights. Lower highlights or whites if a window, sky, or light fabric loses texture. If the bright region was clipped in the original, no slider can recreate the missing detail.
- Check colour and skin texture. Correct a visible colour cast separately. Avoid adding saturation to make a dim face feel “alive”; that often produces unnatural skin faster than a small exposure change.
- Review at two sizes. At 100%, inspect noise, edges, and fine detail. At thumbnail size, ask whether the subject reads naturally and whether the correction still feels like the original photograph.
When a one-click enhancer helps
Photo Editor AI’s Auto Perfect is the site’s fixed-function enhancement route. Its workflow takes one image, offers common aspect-ratio choices, and requests a 1K JPG result. There is no user-facing strength slider or custom prompt in this workflow, so your main control is choosing the input and judging the result. Those settings do not predict how a particular dark portrait will look after processing.
If you use the tool, choose an image where the subject is worth preserving, keep the original, and apply the three-zone check to the downloaded result. Reject the output if the face is brighter but the skin becomes flat, if the background develops halos, or if highlights turn into empty white shapes. If you need precise control over a small region, a manual editor may be a better fit.
Know the hard limit: missing information
Brightening can reveal information that was recorded but hard to see. It cannot reliably recreate detail that was never captured. A nearly black eye, a window with no remaining texture, and a heavily compressed shadow can all invite plausible-looking guesses. Treat new detail in these areas as an interpretation, not proof of what the original scene contained.
The same rule applies to faces. If the correction changes the shape of a nose, eye, or mouth, it has moved from exposure adjustment toward reconstruction. That may be acceptable for a creative edit, but it should not be described as faithful recovery.
A quick rejection checklist
Before sharing the result, ask:
- Can I still recognize the original lighting direction?
- Does skin retain broad tonal variation and some natural texture?
- Did the shadow lift create noise, halos, or gray haze?
- Do windows, skies, and white objects still have useful separation?
- Does the image look acceptable both close up and at the size where it will be viewed?
Return to the original immediately if a critical failure appears: the face is no longer recognizable, skin texture has become flat or gray, the lighting direction no longer makes sense, or important highlights have turned into empty white shapes. For smaller problems such as mild noise or a visible halo, reduce the correction and recheck at both viewing sizes. For a portrait with a difficult backlight, consider a local adjustment or a new photograph rather than forcing the whole frame brighter.
For a related decision about skin texture, read Natural Portrait Retouching: Keep Skin Texture. If you are unsure whether the problem is light, damage, or image size, use Photo Restoration vs. Enhancement vs. Upscaling to choose the right type of fix.
Conclusion
Brighten dark photos in small steps, inspect the face separately from the shadows and highlights, and keep the original beside the edited copy. A one-click enhancer can provide a starting point, but your rejection criteria decide whether the result still looks like the same photograph.