Choose the function from the defect, not from the most impressive-sounding output. Restoration repairs damage or missing-looking areas. Enhancement changes tone, colour, or general visual balance. Upscaling increases pixel dimensions for a display or delivery target. They can appear in one project, but they do different jobs.
The distinction saves time. Upscaling will not remove a crease. Enhancement will not reliably reconstruct a torn corner. Restoration may improve a damaged scan, but it does not automatically make a small file large enough for a poster. This guide gives you a decision table, a sensible sequence, and the limits of Photo Editor AI’s three relevant entry points. No site processing was run for this article.
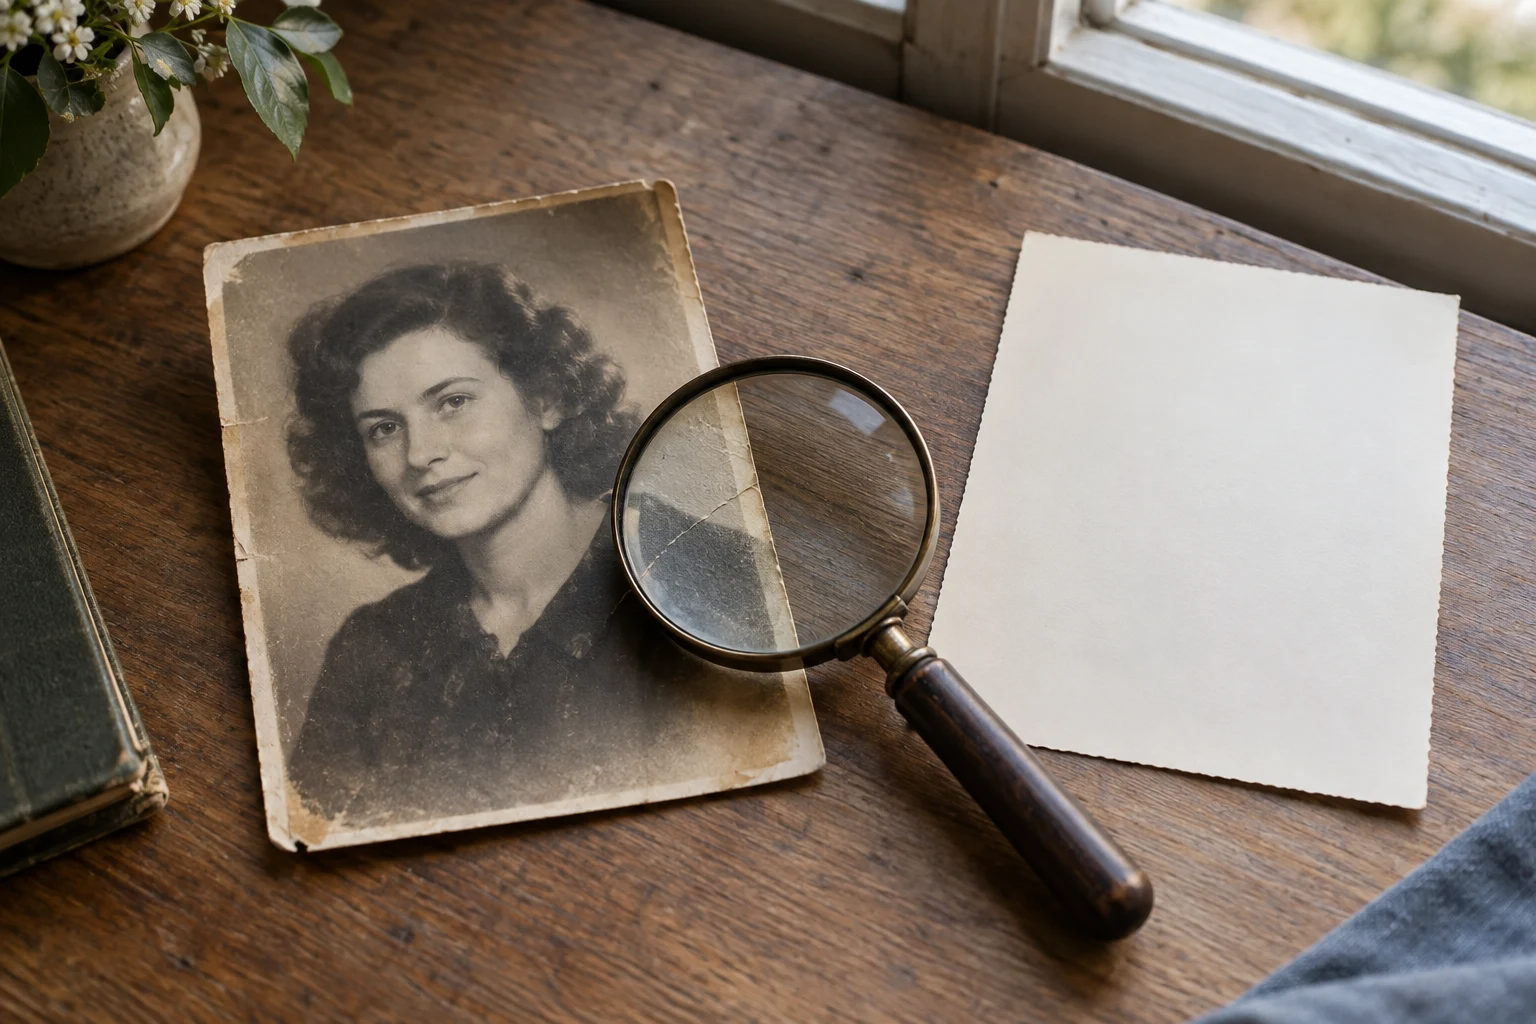
AI-generated illustration showing separate decisions around a worn photograph, not a three-way product comparison or a measured result.
The three functions in plain language
Photo restoration: repair the photograph’s condition
Restoration is for scratches, dust, creases, fading, stains, tears, and other damage that makes an older image look physically or chemically worn. The desired result is a more usable version of the same photograph. Where information is missing, any repair can involve interpretation, so inspect faces, text, hands, and repeated patterns closely.
Restoration is not a guarantee that the original detail can be recovered. A tool may fill a gap with a plausible texture. That can be useful for a family copy, but it should not be described as a verified recovery of what was once there.
Enhancement: improve light, colour, and balance
Enhancement is for an image that is intact but looks dull, dark, flat, colour-shifted, or uneven. Typical decisions include lifting shadows, controlling highlights, correcting a colour cast, or making a subject easier to read.
Enhancement should preserve the scene and the person. If it changes facial structure, invents objects, or removes meaningful texture, it has gone beyond a simple tonal correction.
Upscaling: make a larger pixel file
Upscaling changes pixel dimensions by adding pixels through a resampling method. Adobe’s Photoshop documentation distinguishes pixel dimensions, physical print size, resolution, and resampling. Its resampling guidance also explains that enlargement adds pixels; a larger file therefore does not prove that the missing original detail has been recovered.
Upscaling is for a delivery requirement: a larger screen image, a layout, or a print size. It is not a repair tool. A bigger damaged photo is still damaged, and a brighter small photo is still small.
Use this decision table
| What you can see | First choice | What to check next | Photo Editor AI entry point |
|---|---|---|---|
| Scratches, stains, dust, creases, or a torn-looking area | Restoration | Faces, hands, lettering, repeated textures | Photo Restoration |
| Dark, flat, dull, or colour-shifted image with the scene intact | Enhancement | Skin, shadow noise, highlights, colour cast | Auto Perfect |
| Image looks acceptable but is too small for the destination | Upscaling | Pixel dimensions, edges, halos, fine detail | Crisp Upscale |
| Damage plus a small final file | Restoration first, then consider upscaling | Review the repaired image before enlarging it | Use the two relevant routes separately |
| Dark image with scratches or missing areas | Diagnose both problems | Decide which defect affects trust and recognition first | Do not treat one output as proof that both jobs were solved |
The table is a starting decision, not a ranking. Your source file, target use, and tolerance for invented detail determine whether the result is acceptable.
When two functions belong in one workflow
Some projects do need more than one operation. A sensible order is usually:
- Preserve the original scan or camera file. Make a working copy and record its pixel dimensions.
- Repair major damage. Remove or reduce scratches, creases, stains, and missing-looking areas while the important structures are visible.
- Balance tone and colour. Adjust exposure, shadows, highlights, and colour only after you can see what the repaired surface looks like.
- Set the delivery size. Upscale only when you know the destination dimensions. Keep the repaired, enhancement-only version as a comparison.
- Inspect the final file. Check faces, text, hands, edges, repeated textures, and the pixel dimensions required by the destination.
This order is a practical recommendation, not a claim about a particular model’s preferred pipeline. If the source is already bright and undamaged, skip steps that do not solve a visible problem.
How to verify a choice without fooling yourself
Do not judge one output against a different photo, a different crop, or a memory of the original. Keep the same source and compare the right property:
- Restoration: Did the named damage become less distracting without changing identity or adding obvious repeated texture?
- Enhancement: Is the subject easier to read while skin, colours, and highlights remain plausible?
- Upscaling: Does the exported file have the pixel dimensions required by the destination, and do important details survive at 100%?
For print, calculate the relationship between pixels, physical size, and pixels per inch (PPI). A screen label such as “4K” does not by itself establish a suitable print file. Ask the printer for its preferred dimensions, colour profile, and proofing requirements.
Where Photo Editor AI fits
Photo Editor AI presents three separate one-image page flows. Photo Restoration and Auto Perfect use fixed-function workflows, allow selected aspect ratios, and request a fixed 1K JPG. Crisp Upscale does not expose a target resolution, scale factor, aspect-ratio control, or strength setting in its page flow. These settings tell you how to choose an entry point; they do not predict the quality or exact pixels of a particular result.
That means your workflow is a choice among fixed-function starting points. Upload an authorized image only after you have named the defect and saved the original. After a successful result, download it and inspect the property that motivated the edit. Do not infer that a restoration output is also an upscale benchmark, or that a brightened image proves detail recovery.
The site’s pages are useful entry points, but page descriptions cannot establish the third-party model’s actual quality, final file pixels, processing time, or reliability. Check the current tool page and privacy terms before uploading a personal or irreplaceable photograph.
Quick examples
A faded family scan with a long crease: start with restoration. After inspecting the face and the crease edges, decide whether a small tonal correction helps. Upscale only after the repaired copy meets the intended print dimensions.
If the restored copy is still too small for your intended print, follow the old-photo printing workflow to decide on dimensions and review an enlargement before ordering.
A recent indoor portrait that is too dark: start with enhancement. Check skin and the window or lamp behind the subject. If the face is still unreadable because the original captured no shadow information, a brighter result may require a new photograph rather than a stronger setting.
A clean image that must fit a larger layout: start with upscaling. Confirm the destination pixel dimensions and inspect thin lines, lettering, hair, and edges. Do not add restoration steps just because the file is small.
For detailed checks on a dark portrait, read How to Brighten Dark Photos Without Washing Out Skin. For skin-specific editing, see Natural Portrait Retouching: Keep Skin Texture.
Conclusion
Restoration repairs condition, enhancement improves tone and balance, and upscaling changes pixel dimensions. Start with the defect you can name, sequence operations only when the next one has a clear purpose, and verify each result against the original task. A larger, brighter, or cleaner file is not automatically a more faithful photograph.